The Definitive Guide for House Sprinkler System
Table of ContentsThe Ultimate Guide To Landscape Sprinkler SystemBuilding Sprinkler System Things To Know Before You BuyThe Irrigation System Company Statements
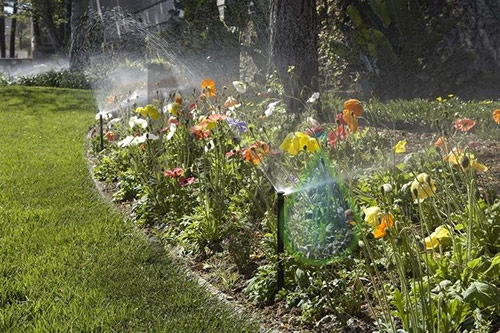
Replacing the head is one of the easiest repairs. Substitute heads are offered in your home facilities and online. Make certain to acquire the same sort of head that you're replacing. To change a damaged head, switch off the system as well as dig a 2-ft.- diameter hole around the head. Making use of a square shovel, slice the turf right into easy-to-remove items.Dig to the "riser" (the vertical pipe that branches off the main line) which is attached to the lawn sprinkler head. Dig with a light touch to stay clear of damaging the plastic water line, which is 8 to 12 in. underground. Turn the head counterclockwise to remove it from the riser.
Lawn sprinkler heads are mounted only hand-tight, yet after remaining in the ground for a number of years, they might call for using wrenches to loosen. If the head does not transform quickly, hold the riser with slip joint pliers to maintain it from turning loosened from the installations listed below. Affix the new lawn sprinkler head by putting it on the riser and also transforming it hand-tight (image).
Lawn sprinkler heads are factory tested to ensure they function. As a result, they're commonly packaged still damp, so do not be surprised to see water in a new head. Prior to completing the hole and changing the turf, set the desired lawn sprinkler pattern (see "Reset the Spray Pattern," listed below). Prior to you start excavating to access the underground water lines, electrical wires or spray heads, dial 811 to have your below ground energy lines determined as well as noted.
Wash away soil and also particles in a pail of water. Get rid of the screen basket from the bottom of the head, then clean it with water. Adjust the watering range of the lawn sprinkler head before mounting it. Location the head in the container so the nozzle goes to the side of the area to be sprinkled.

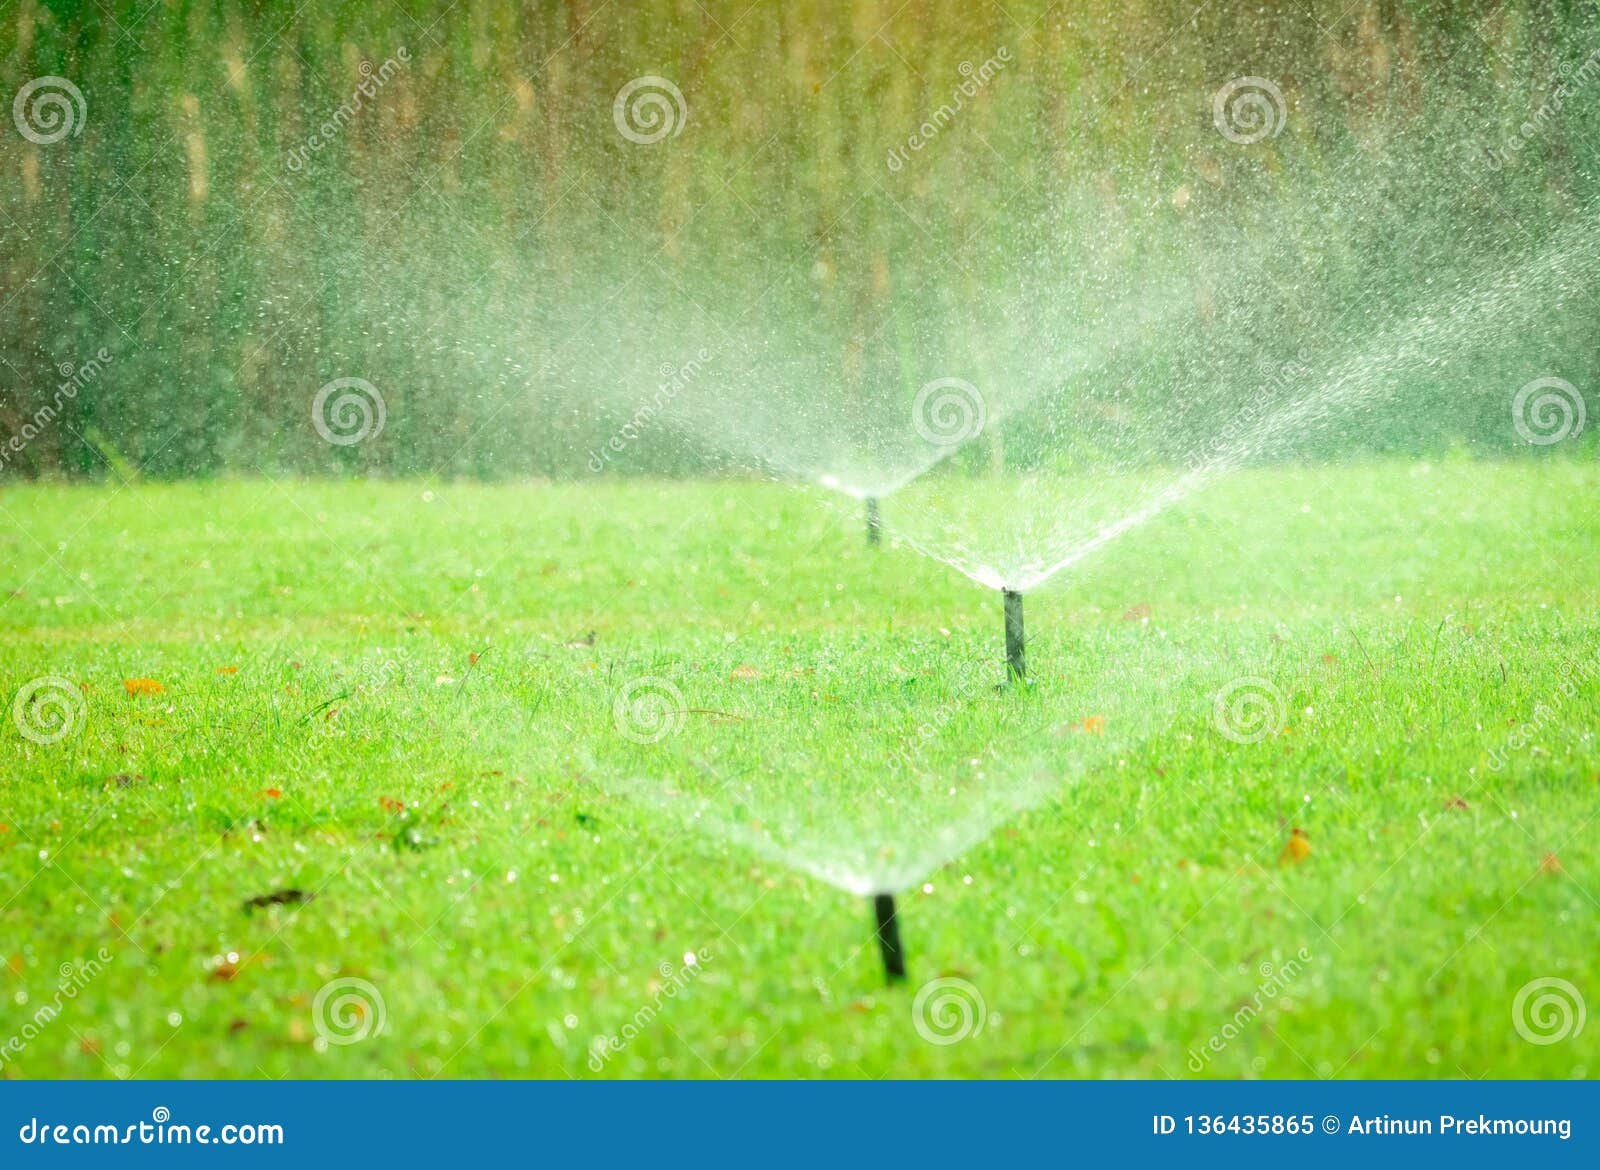
Dust sometimes enters lawn sprinkler heads, creating them to block. Blocked heads might increase but stop working to spray, not reduced after sprinkling, or create an erratic spray pattern. To clean the head, dig it out and also remove it from the Riser (Picture above). Take the head apart by holding all-time low of the cylinder as well as turning the top of the head counterclockwise.
Some Known Facts About Yard Watering System.
If you can not pop the basket out with your fingers, pry it out with a flat-head screwdriver or draw it totally free with a pliers. Wash the basket in a pail of tidy water, washing out the particles (Image 2). Tidy the remainder of the sprinkler head by washing it with water.
If it still doesn't work, change it with a new head. Keep in mind: In areas of the nation that experience freezing temperature levels, polyethylene (poly) pipeline is utilized for the watering water lines. PVC pipe is used in locations that don't freeze. When placing on a brand-new lawn sprinkler head or making use of the exact same head after cleaning, you may require to adjust it to next water a details location.
You can readjust some head kinds by transforming a port on top with a screwdriver. Others need an unique secret that you place into the head as well as turn (Photo 3). Some heads likewise enable you to adjust the spray pattern by transforming a small screw situated beside the nozzle.
First, turn the leading clockwise until it stops. That nozzle location is the starting point (the head will certainly turn counterclockwise from there). Change the head to establish the watering turning anywhere from 40 degrees to 360 degrees counterclockwise from the starting point. Set the head in the canister - underground irrigation system. Backing up the head, align the nozzle with the appropriate side of the location you intend to water, such as along a driveway.
Meticulously backfill the opening as well as change the turf. Transform on the automatic sprinklers at the controller. Allow the head to make a few rotations, after that make extra adjustments while the system is competing lawn sprinklers fixing. Inspect the automatic sprinkler valves on the heartburn tool to make certain they're open.
Reduced water stress will lead to the sprinkler heads hardly shooting water. In extreme cases, much of the heads will not also stand out up. Start with the most check out this site convenient option. Make sure the shutoffs at the heartburn gadget are fully open. The heartburn gadget lies over ground, with the shutoff at least 12 in.
Things about Lawn Sprinkler System Design
Many heartburn tools have a shutoff on the horizontal and upright pipelines. Turn the shutoffs to their open settings as shown. The lawn sprinkler valve is open when the deal with is identical with the pipeline. Cut out the harmed area of line and replace it with a slip coupling. Secure the combining with band secures.
After that examine for leaks in the water line. Seek a series of lawn sprinkler heads that aren't watering correctly. The water line issue is constantly situated in between the last working head as well as the very first nonworking head. Try to find signs of dripping water, such as water gurgling up from the dirt when the lawn sprinklers system are running, a depression in the ground, or a very damp location.

When you situate the approximate leak website, dig straight to the water line. After that expand the hole along the line, complying with the flow of the leaking water till you find the break or fracture. Prior to making the repair service, make certain the system is switched off at the controller. Utilize a slip combining to fix the leak.
Find these couplings as well as other repair work parts at irrigation supply shops. To deal with the leak, use a hacksaw to remove a 4-in. area of line at the leak. underground watering system. Place a clamp on among the line ends, put the coupling, then tighten the clamp. Location a clamp on the second pipe end, increase the combining while placing the nipple into the pipeline, then tighten the advice clamp.